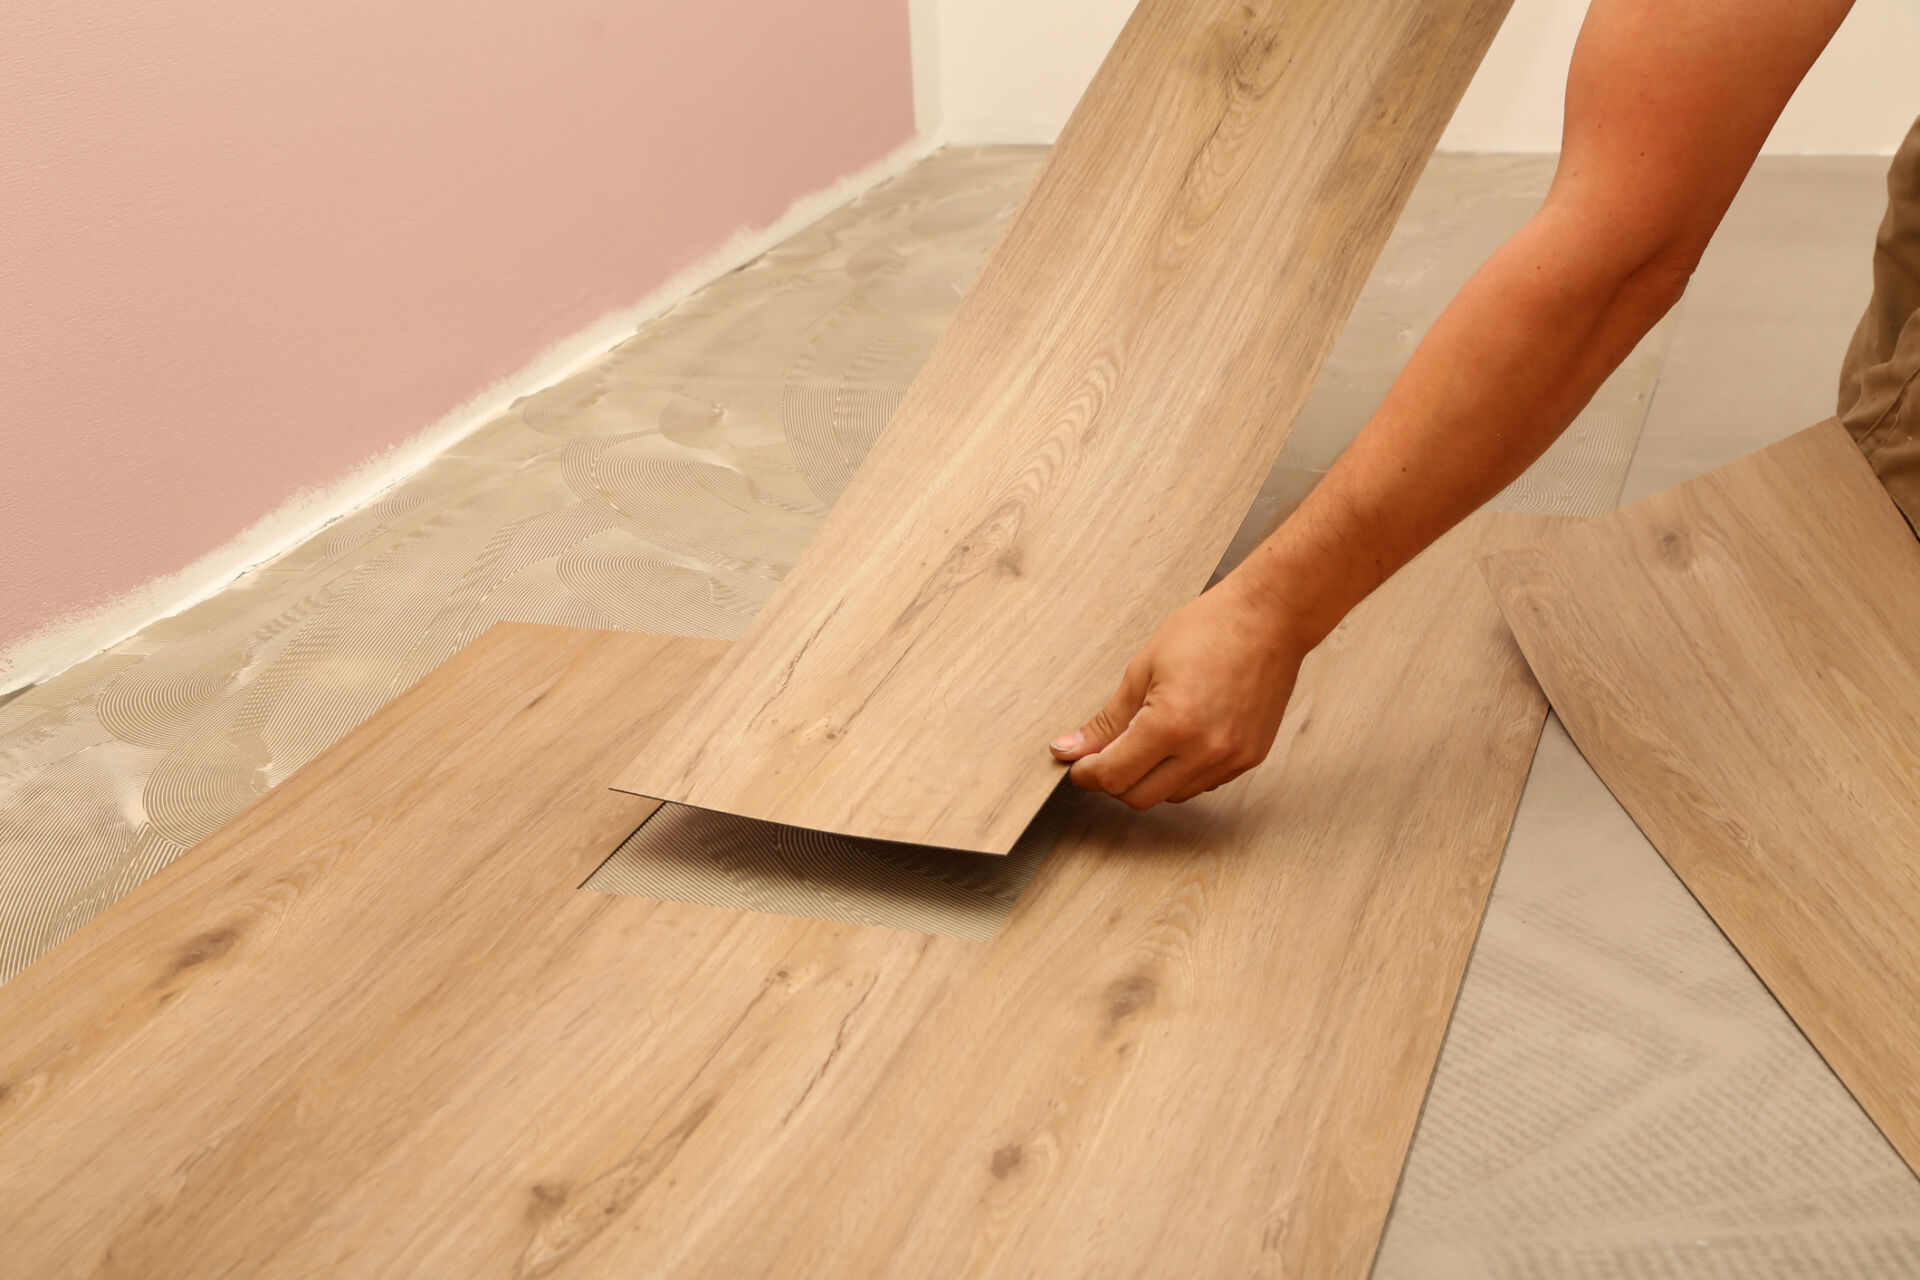
Luxury Vinyl Tile Installation Pro Techniques for Installing LVT Flooring in Residential and Commercial Spaces

Luxury Vinyl Tile (LVT) is a resilient and visually appealing flooring choice that mimics natural stone or ceramic tiles while offering easier maintenance and enhanced durability. It’s a favorite among property managers, designers, and flooring professionals alike.
Benefits of LVT Flooring:
- Waterproof and pet-friendly
- Scratch-resistant surface
- Realistic tile appearance with groutable options
- Suitable for kitchens, bathrooms, and commercial spaces
Tools & Materials Required:
- Chalk line
- Utility knife
- Notched trowel (for glue-down)
- LVT-specific adhesive
- Roller (100 lb. recommended)
- Spacers
- Seam roller (for groutable tiles)
Step-by-Step Installation Guide:
1. Acclimate the Tiles
Allow tiles to sit in the installation area for 48 hours to match temperature and humidity.
2. Subfloor Preparation
Clean the subfloor thoroughly. It should be dry, smooth, and free of debris. Patch or level uneven spots. LVT can be installed over concrete, wood, or existing vinyl.
3. Determine Layout
Snap a chalk line to identify your center point and work outward in quadrants. Dry-fit several tiles to ensure symmetry and avoid small slivers on perimeter walls.
4. Apply Adhesive
Use the recommended adhesive and apply it with a notched trowel. Allow it to flash (dry slightly) before placing tiles, depending on adhesive type (pressure-sensitive or wet-set).
5. Lay the Tiles
Begin at the center and work outwards. Press tiles firmly into place. Use spacers if groutable tiles are being installed.
6. Roll the Floor
Use a 100-lb. roller to ensure full adhesive contact and eliminate air pockets. Roll in multiple directions.
7. Trim Edges and Final Row
Use a utility knife to trim edge tiles for a perfect fit. Maintain expansion gaps as specified by the manufacturer.
8. Grouting (Optional)
If using groutable LVT, apply grout between tiles once adhesive has cured. Wipe away excess and smooth lines with a sponge.
9. Clean and Inspect
Clean the surface with an approved vinyl cleaner. Inspect for lifted edges or uneven tiles.
Professional Tips:
- Always follow adhesive open and working time guidelines.
- Avoid heavy foot traffic for 24 hours post-installation.
- Use transition strips between flooring types.
