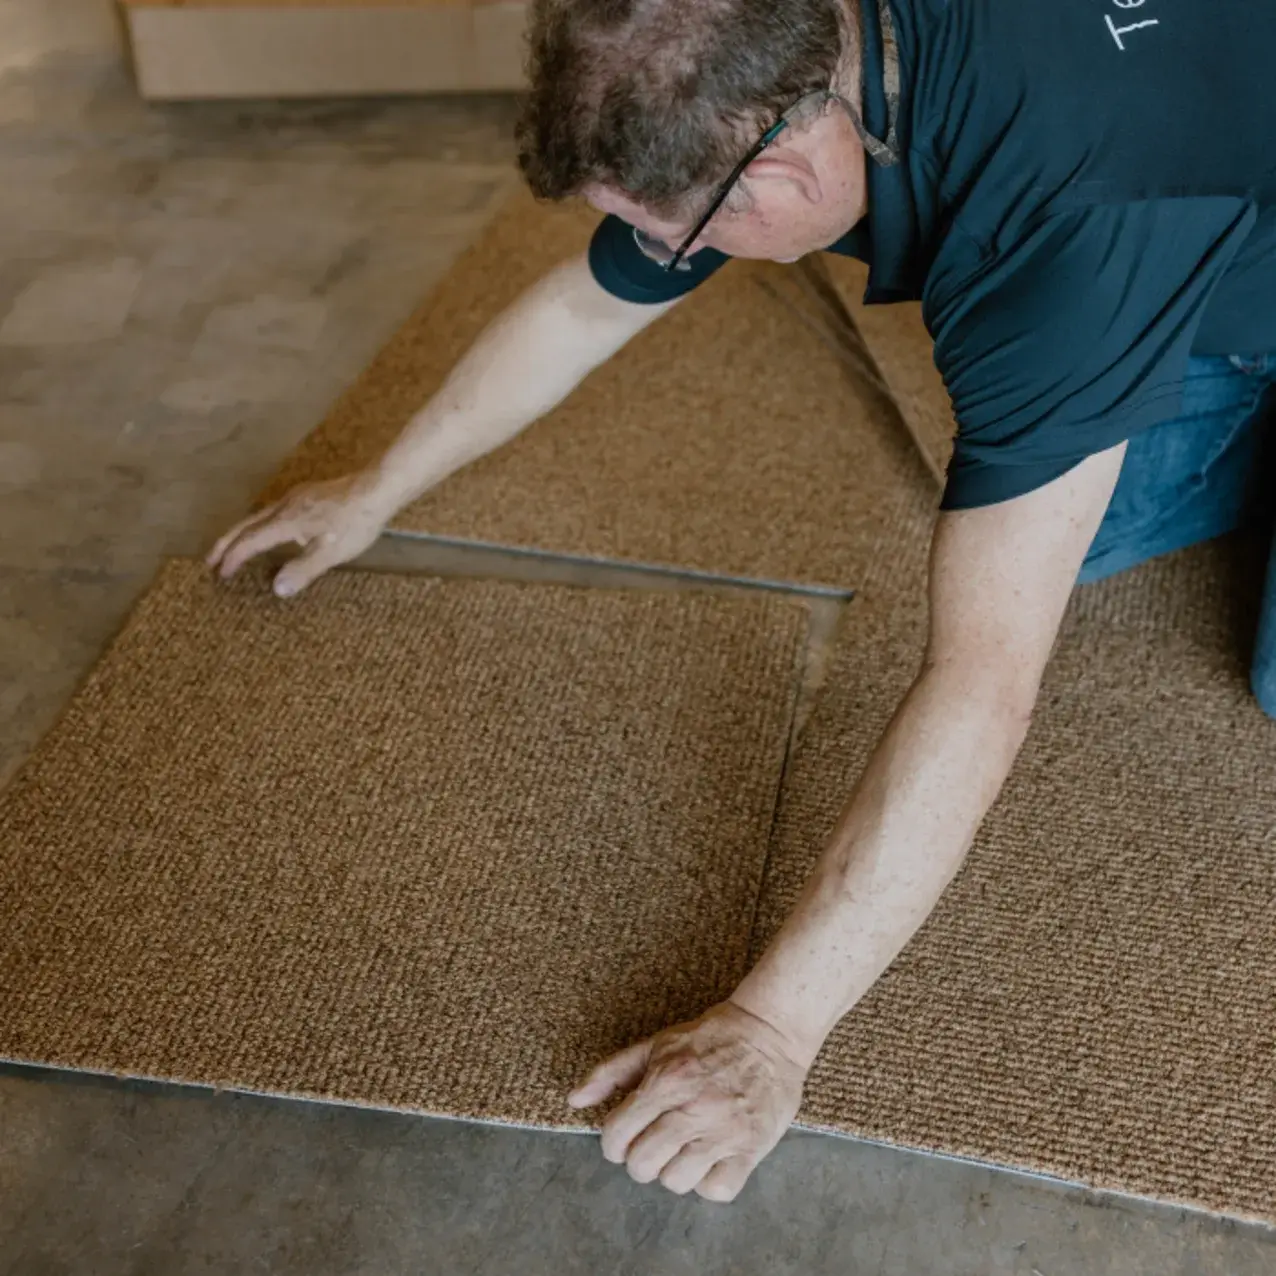
Modular Carpet for Professionals: Planning, Patterns & Precision

Carpet tiles (also known as modular carpet) have become the go-to solution for commercial and residential flooring thanks to their versatility, ease of replacement, and rapid installation. Whether you’re outfitting a corporate office, classroom, retail space, or basement, understanding proper carpet tile installation techniques ensures lasting results and client satisfaction.
Why Carpet Tiles?
Carpet tiles offer several key benefits over traditional broadloom carpet:
-
Easy to install, replace, and repair
-
Ideal for high-traffic areas
-
Supports creative layouts (checkerboard, monolithic, herringbone)
-
Reduces waste during install
-
Often come with attached cushion backing and pre-applied adhesive
“Carpet tiles are a smart choice for clients who want flexibility and minimal downtime,” says Frank D., a flooring technician with over 15 years of experience in modular installations.
Tools & Materials You’ll Need:
-
Utility knife with fresh blades
-
Chalk line or laser guide
-
Tape measure
-
Floor roller (50–100 lb)
-
Pressure-sensitive adhesive or peel-and-stick tiles
-
Straight edge or T-square
-
Carpet trowel (for glue application)
-
Knee kicker (optional for edge areas)
Step-by-Step Installation Guide

1. Acclimate the Tiles
Leave carpet tiles in the room for 24–48 hours prior to install. This prevents post-installation buckling and ensures better adhesive performance.
2. Prepare the Subfloor
Ensure the subfloor is clean, dry, and level. Patch any cracks or low spots, and remove all dust and grease. Carpet tiles can be installed over concrete, VCT, wood, or approved subfloors.
“Subfloor prep is half the job,” notes Rebecca L., a commercial flooring supervisor. “Even with carpet, uneven substrate causes premature wear.”
3. Find the Center of the Room
Using chalk lines or a laser guide, snap intersecting lines to find the exact center. Start your layout from the center to keep patterns balanced and minimize tile cuts at edges.
4. Test Layout and Direction
Dry-lay a few tiles to check alignment. Confirm pile direction with arrows on the back of each tile. You may choose one of several layouts:
-
Monolithic (same direction)
-
Quarter-turn (each tile rotated 90°)
-
Brick
-
Ashlar
-
Random or modular mix
5. Apply Adhesive (If Needed)
Use pressure-sensitive adhesive with a short-nap roller or trowel. Follow manufacturer open time and avoid over-application. For peel-and-stick, remove the backing only when ready to place the tile.
6. Lay Tiles from Center Outward
Press each tile firmly in place. Align edges snugly without forcing. Maintain pile direction and pattern integrity. Trim perimeter tiles last.
7. Trim Edge Tiles
Use a utility knife and straight edge to cut tiles along walls and around obstacles. Cut from the back side for cleaner results. Leave a small gap (⅛”) at walls to allow for expansion.
8. Roll the Floor
Use a floor roller to bond the tiles uniformly with the adhesive. Roll in both directions to eliminate air pockets and improve adhesion.
9. Final Inspection and Cleaning
Check for raised edges, misaligned seams, or gaps. Vacuum the area to remove fuzz and loose fibers. Leave walk-off mats at entrances if needed.
Tips from the Pros:
-
Replace damaged tiles easily without tearing up the entire floor.
-
Order extra tiles (5–10%) from the same dye lot for future repairs.
-
Use transition strips at doorways for a cleaner finish.
-
For concrete installs, always test moisture and use appropriate sealer or primer.
Layout Patterns and Design Notes:
Carpet tile offers a unique opportunity for creative design. Here are popular patterns and when to use them:
| Pattern | Best For | Look |
|---|---|---|
| Monolithic | Corporate offices | Clean, uniform |
| Quarter-turn | Schools, open offices | Textured, subtle contrast |
| Brick | Retail, fitness | Structured, informal |
| Ashlar | Hotels, lobbies | Linear and modern |
| Random | Creative studios | Bold and expressive |
