How to Apply Epoxy Floors Like a Pro: Prep, Prime, Pour & Polish

Epoxy flooring is one of the most durable and visually striking options available for garages, commercial spaces, and even modern residential interiors. As a flooring installer, mastering the art of epoxy application can significantly broaden your service offerings and increase job value.
“Epoxy floors are where craftsmanship meets chemistry,” says Michael D., a commercial installer from Charlotte. “Prep is everything—get that right, and the floor will last for decades.”
Why Choose Epoxy Flooring?
-
High durability: Resistant to chemicals, stains, and abrasions
-
Seamless finish: No joints or grout lines
-
Aesthetic versatility: Comes in metallic, flake, solid, and quartz finishes
-
Low maintenance: Simple to clean and maintain
Key Tools & Materials:
-
Diamond floor grinder or shot blaster
-
HEPA-rated vacuum
-
Moisture and pH testing kits
-
Two-part epoxy kits (base coat and topcoat)
-
Epoxy-safe primer (moisture-blocking recommended)
-
Notched squeegee and roller
-
Mixing paddle and drill
-
Spiked shoes (to walk over wet epoxy)
Step-by-Step Epoxy Floor Installation:
1. Moisture & pH Testing
Use RH sensors or calcium chloride tests to confirm acceptable moisture levels (typically < 75% RH or < 3 lbs/1000 sqft/24 hrs). pH should be between 7–9 for most systems.
“Skip the moisture test and risk a disaster,” warns epoxy veteran Greg P. “It’s the #1 reason coatings fail.”
2. Concrete Surface Prep
Grind or blast the surface to CSP (Concrete Surface Profile) 2–3, removing all sealers, paint, or debris. Vacuum with a HEPA system to eliminate dust.
3. Apply Primer Coat
Use a moisture-tolerant epoxy primer to seal pores and promote bonding. Apply with a roller or squeegee, and back-roll for even coverage.
4. Mix Epoxy Properly
Mix part A and part B precisely by manufacturer ratios. Stir slowly with a mixing paddle (usually 2–3 minutes), avoiding air bubbles.
5. Apply the Base Coat
Pour in ribbons across the floor. Spread with a notched squeegee and back-roll. If applying flakes or quartz, broadcast evenly while wet.
6. Optional Flake or Quartz System
For traction and aesthetics, broadcast decorative flakes or quartz into the wet epoxy until rejection (floor is fully covered).
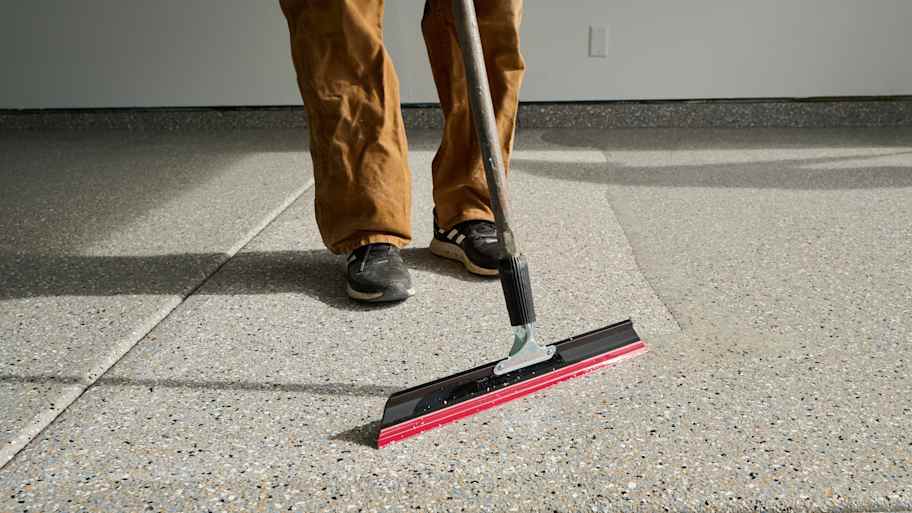
7. Scrape & Vacuum Excess
Once cured, scrape off loose flakes or quartz using a floor scraper, then vacuum thoroughly.
8. Apply Topcoat
Use a UV-stable polyaspartic or urethane topcoat for protection. Apply evenly and back-roll in opposite directions for uniform thickness.
Curing & Final Touches
-
Allow 24–72 hours for foot traffic (depends on product)
-
Full chemical cure may take up to 7 days
-
Install edge transitions and perform final inspection
Troubleshooting Tips:
-
Blisters or bubbles? Caused by trapped moisture or overmixing
-
Poor bonding? Likely due to inadequate surface prep
-
Yellowing? Use UV-stable topcoats to avoid discoloration
Pro Advice:
-
Always check temperature and humidity levels before and during installation.
-
Don’t rush pot life—epoxy hardens quickly once mixed.
-
Store materials indoors 24 hours before use to stabilize temperature.
“The floor reflects your prep work—literally,” says Lisa M., an epoxy specialist in Raleigh. “A flawless floor starts long before you pour.”