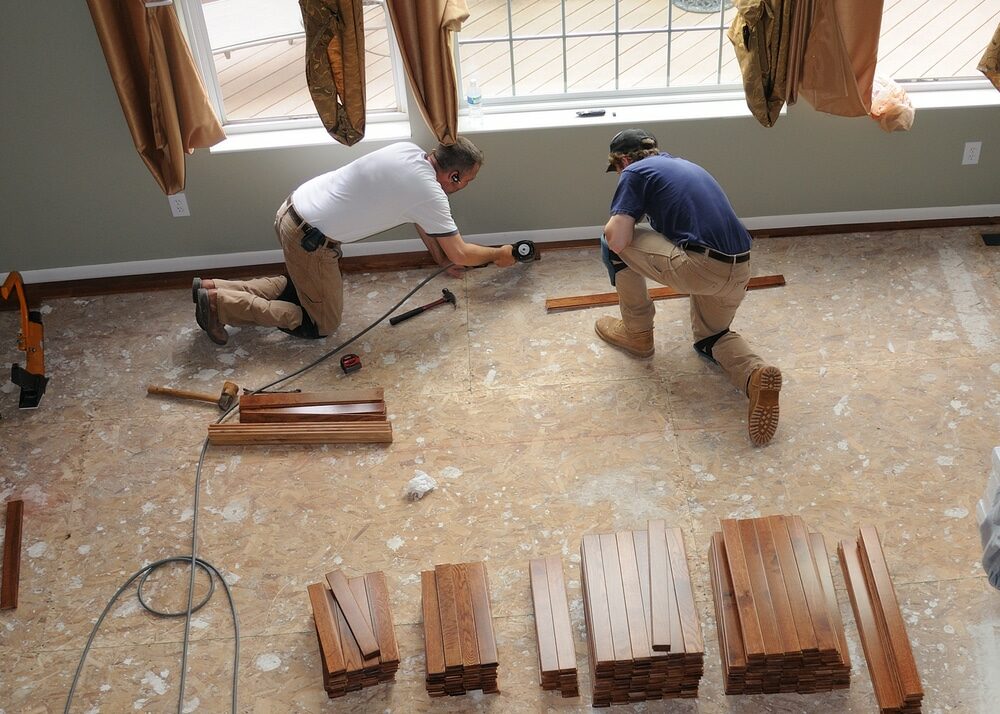
The Foundation of Every Great Floor: Subfloor Prep Essentials for Professional Installers

Before a single plank, tile, or coating is laid, the success of any flooring installation hinges on one critical phase: subfloor preparation. Whether you’re working with Luxury Vinyl Plank, Engineered Hardwood, Carpet Tiles, or Epoxy Flooring, a properly prepped subfloor ensures long-term durability, warranty compliance, and client satisfaction.
“The finished floor is only as good as what’s underneath it,” says Darren M., a commercial flooring foreman with 20+ years in the trade.
Why Subfloor Prep Matters
-
Prevents movement and squeaks
-
Ensures even wear and finish
-
Reduces adhesive failure risk
-
Protects against moisture damage
Key Tools & Materials
-
6-ft. level or laser level
-
Straight edge
-
Moisture meter (RH or calcium chloride)
-
Self-leveling compound
-
Trowel and gauge rake
-
Patch/skim coat materials
-
HEPA vacuum
-
Floor grinder or sander
Step-by-Step Subfloor Prep Process

1. Evaluate the Substrate
Check for dips, humps, and damage. Use a straightedge and level to map high and low areas.
2. Check Moisture Levels
Always perform a moisture test:
-
Concrete: RH probe or calcium chloride
-
Wood: Pin-style moisture meter
Results must meet flooring product specs.
3. Clean the Surface
Remove dust, debris, grease, and old adhesives. A clean substrate improves bonding and finish quality.
4. Repair Cracks or Gaps
-
Use patching compound on plywood joints or concrete cracks
-
Sand flush with surrounding floor once cured
5. Apply Primer (if needed)
Some leveling compounds require a primer for better adhesion and to prevent air bubbles.
6. Use Self-Leveling Compound
Pour and spread compound with a gauge rake. Use a smoothing tool and allow it to cure per manufacturer guidelines.
7. Final Sand & Vacuum
Once cured, lightly sand to remove surface tension and vacuum thoroughly with HEPA filtration.
“Don’t rush this part. A perfect prep job saves hours down the line,” advises Christina L., certified flooring installer.
Special Considerations by Flooring Type
-
LVP/LVT: Evenness is crucial. No more than 3/16″ over 10 feet.
-
Engineered Hardwood: Must be dry and rigid. Avoid deflection.
-
Carpet Tiles: Level surface prevents tile creep and visible seams.
-
Epoxy: Grind or shot-blast surface. Moisture and profile are critical.
Common Mistakes to Avoid
-
Skipping moisture testing
-
Ignoring small dips or ridges
-
Using the wrong patching compound
-
Not allowing time for compound curing
-
Failing to remove old adhesive residues
Quick Checklist for Installers
✅ Subfloor flat within tolerances
✅ Clean, dry, and debris-free
✅ All cracks patched or filled
✅ Moisture test results documented
✅ Leveling compound fully cured
